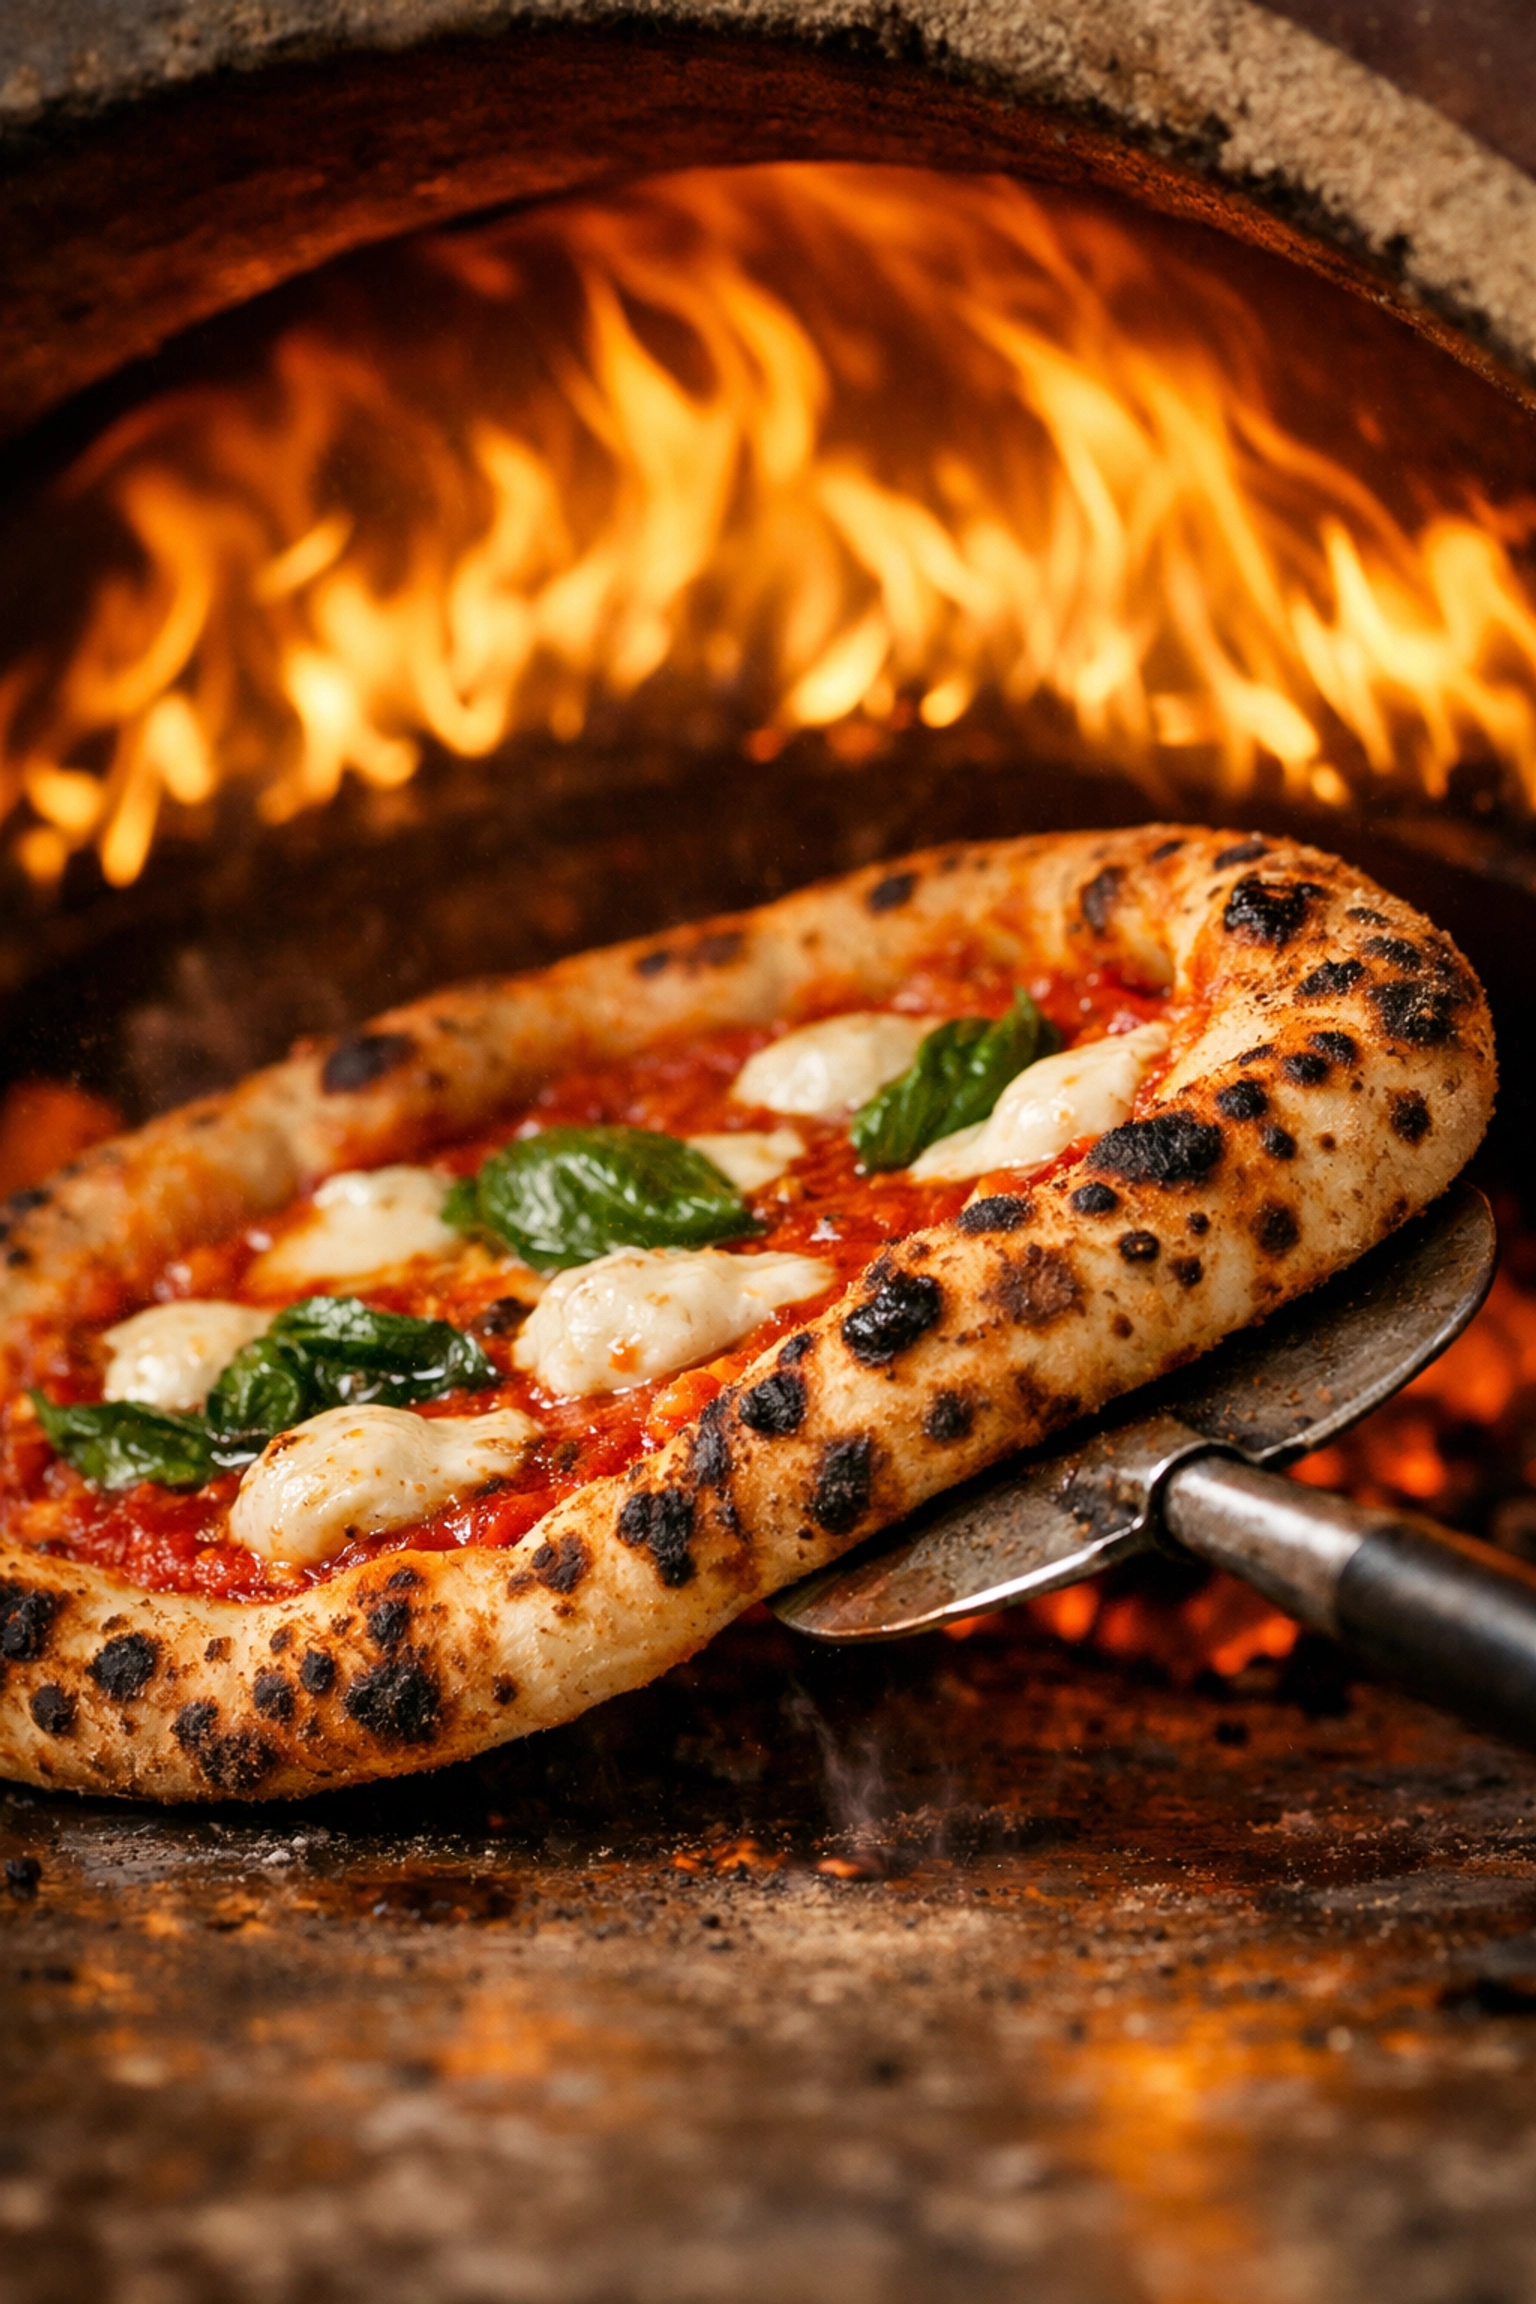
There is a distinct ritual to wood-fired cooking that transcends the convenience of a standard kitchen appliance. For those looking to elevate their outdoor entertaining, the wood-fired oven represents the pinnacle of culinary performance and architectural design. Unlike a conventional oven, a wood-fired system utilizes high-intensity thermal mass to deliver flavors and textures: such as the coveted charred "leopard spotting" on a crust: that are impossible to replicate elsewhere.
Mastering Wood Fired Pizza Ovens requires an understanding of thermodynamics, fuel management, and heat control. This guide provides the structural knowledge necessary for beginners to transition from novice fire-starters to confident outdoor chefs.
To cook effectively with wood, you must understand the three types of heat at play within the oven dome:
By balancing these three forces, Outdoor Fires can reach temperatures exceeding 450°C (850°F), allowing a pizza to cook in as little as 60 to 90 seconds.
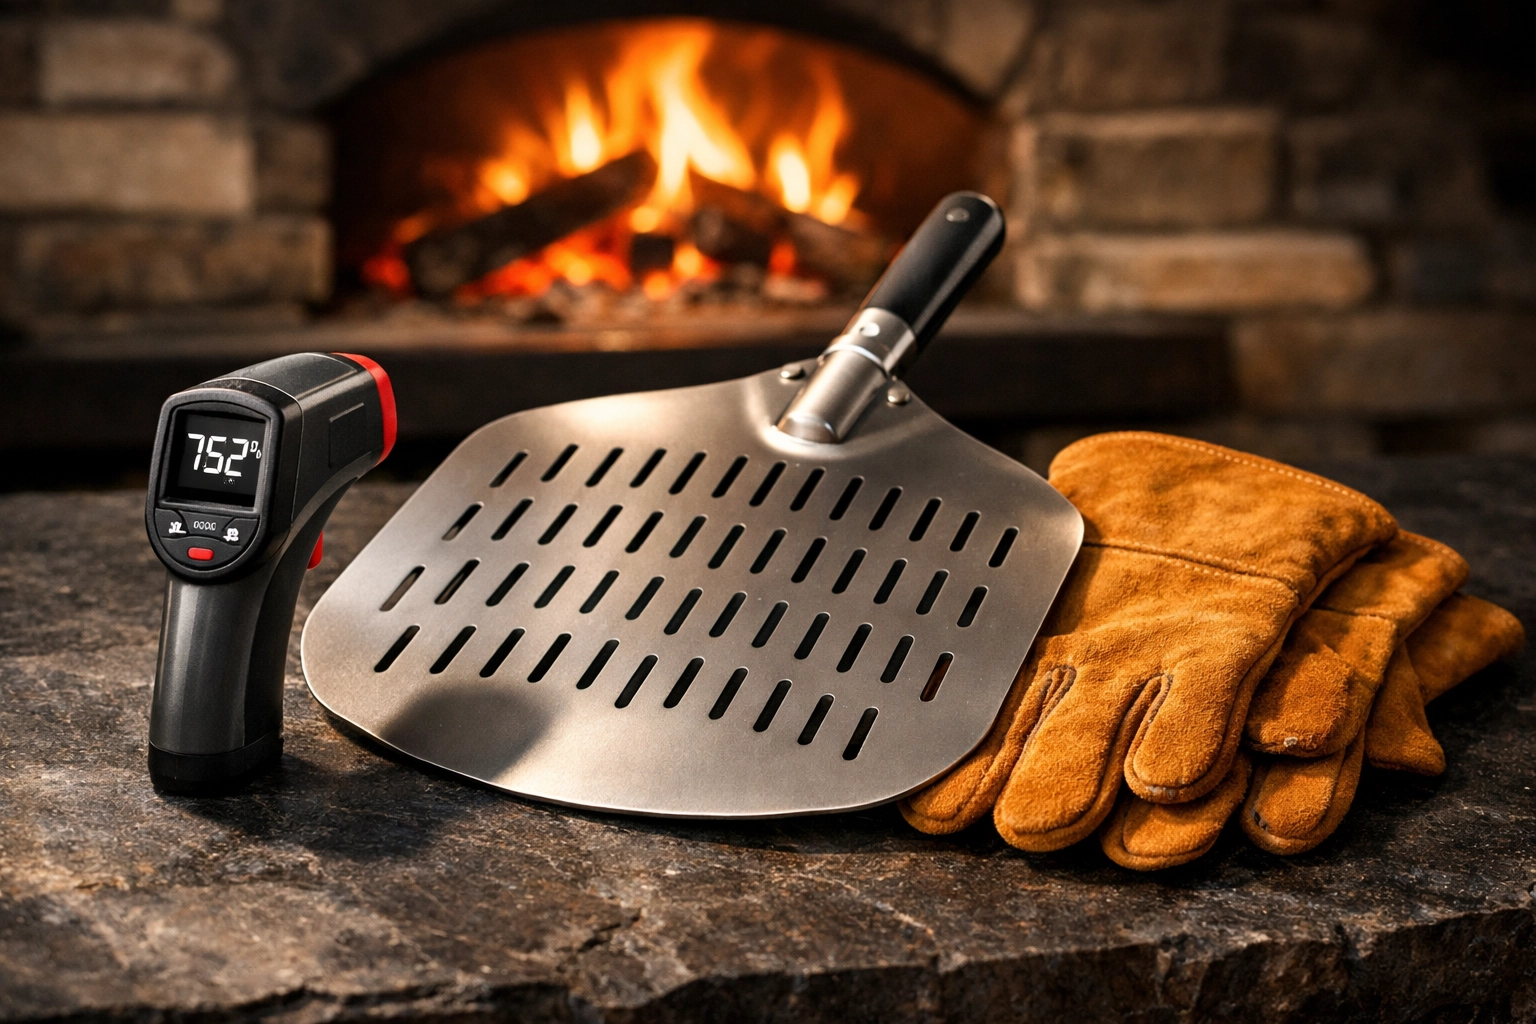
Before lighting the first log, ensure you have the correct technical kit. Precision is the difference between a gourmet meal and a burnt crust.
The quality of your fire depends entirely on the fuel you provide. For Wood Fired Pizza Ovens, you must prioritize high-density hardwoods.
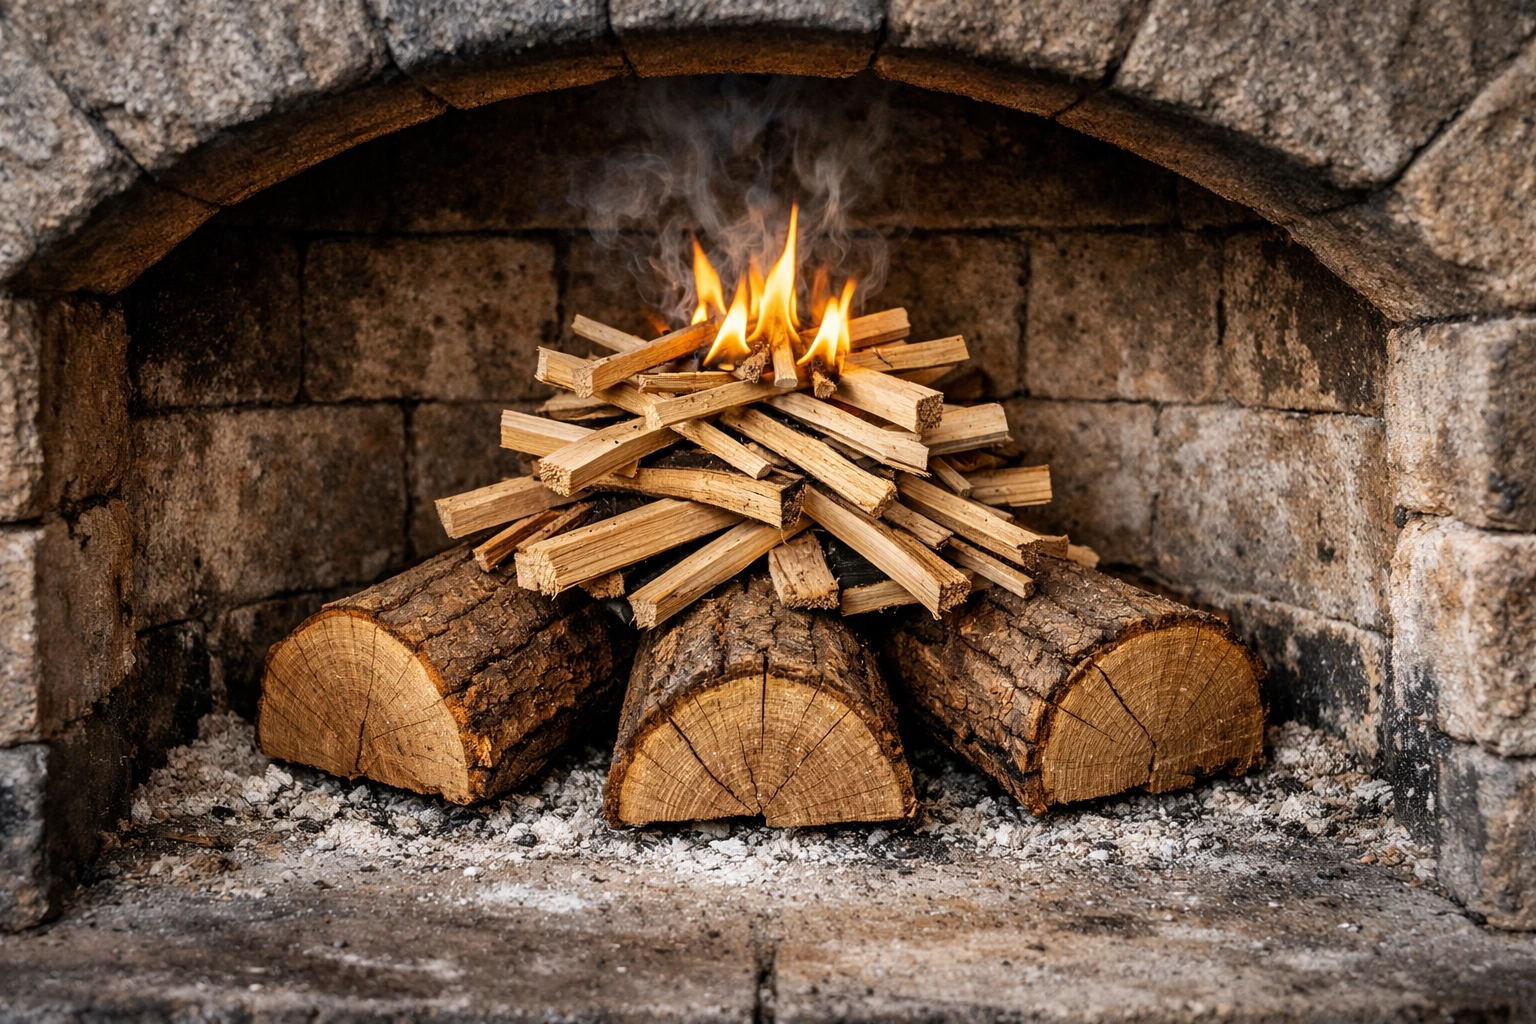
Efficiency in heating starts with how you build the fire. The Top-Down Method is widely considered the most effective way to reach high temperatures with minimal smoke output.
Step 1: The Base. Place two or three medium-sized hardwood logs in the center of the oven, leaving space between them for airflow.
Step 2: The Stack. Layer smaller kindling sticks on top of the base logs in a "criss-cross" or "log cabin" pattern.
Step 3: The Ignition. Place a natural fire-starter or twisted newspaper at the very top of the stack and light it.
As the top layer burns, the embers fall into the larger logs below. This method ensures the fire consumes its own smoke as it moves downward, resulting in a cleaner burn and faster heat saturation of the dome.
A common mistake for beginners is attempting to cook while the fire is still in its "aggressive" growth stage. Mastering Outdoor Fires involves recognizing the stages of the heat cycle.
Cooking in a wood-fired environment is a high-speed activity. You cannot "set and forget" a pizza in a 400°C oven.
The Launch: Dust your placement peel with a small amount of flour or semolina. Ensure the dough is not sticking by giving the peel a slight shake before approaching the oven. Slide the pizza onto the floor with a swift, confident motion.
The Rotation: After approximately 30 seconds, the edge of the pizza closest to the fire will begin to rise and brown. Use your turning peel to lift and rotate the pizza 180 degrees. This ensures the crust is evenly cooked by the radiant heat of the flames.
The Finish: If the base is cooked but the toppings need more heat, you can "dome" the pizza. This involves lifting the pizza on your peel and holding it near the top of the oven for 5 to 10 seconds to take advantage of the intense convection heat trapped in the ceiling.
For those looking to expand their repertoire beyond pizza, exploring specialized wood-fired recipes can help you master slow-roasting, bread baking, and searing meats at high temperatures.
To ensure your investment lasts for decades, professional maintenance is required.
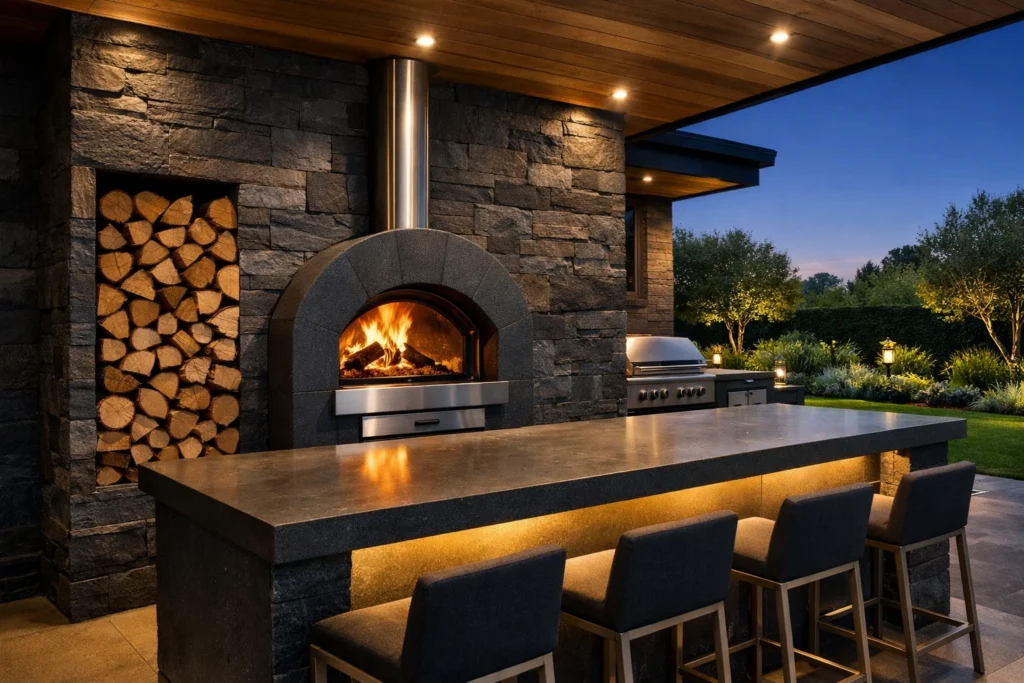
A wood-fired oven is often the centerpiece of an outdoor kitchen. When planning your installation, consider the workflow of the chef. You need ample bench space for stretching dough and a dedicated area for wood storage. Integrating your oven with high-quality outdoor cooking systems ensures that your entertaining space is both functional and aesthetically cohesive.
✔ Prioritize Hardwood: Only use seasoned hardwoods like oak or maple for high heat and clean flavor.
✔ Master the Top-Down Method: Build fires from the top to reduce smoke and increase efficiency.
✔ Invest in Precision: An infrared thermometer is non-negotiable for consistent results.
✔ Understand the 90-Second Window: Wood-fired cooking is fast; constant rotation is the key to an even bake.
✔ Respect the Thermal Mass: Allow the oven enough time to saturate (1–2 hours) for the best conductive heat.
By focusing on these technical foundations, you can transform your outdoor area into a professional-grade culinary destination, providing an unmatched experience for both the cook and the guests.


