Pickleball and 3x3 Basketball PP Tiles Installation 101: Your Step-by-Step Guide to the Perfect Home Court

April 1, 2026
Spread the love

If you want a hard-wearing home court surface that works for both Pickleball and 3 x 3 basketball, Polypropylene (PP) interlocking tiles are one of the most practical installation options available. They are durable, DIY-friendly, and well suited to multi-sport layouts on existing concrete or prepared outdoor pads.

Compared with a full poured acrylic court, PP tiles are faster to install, easier to maintain, and more flexible for homeowners who want a surface that supports different game formats. Whether you are marking out a dedicated Pickleball court, a compact 3 x 3 basketball setup, or a shared-use playing area, the same core installation process applies.

This guide explains how to plan, prepare, and install PP tiles so the finished court performs properly for both sports.

Why Choose PP Tiles for Pickleball and 3x3 Basketball?

Before you start measuring, define why PP tiles are such a strong fit for a dual-purpose court. Polypropylene is a durable thermoplastic commonly used where impact resistance, weather performance, and long service life matter. In sports flooring, that translates into practical benefits for both Pickleball and 3 x 3 basketball.

  • Shock Absorption: Provide a playing surface with slight flex underfoot to help reduce joint stress compared with bare concrete.
  • Drainage Performance: Specify perforated tiles that allow water to drain through quickly so the court returns to use faster after rain.
  • UV Resistance: Choose tiles designed to resist sun exposure and help maintain colour consistency over time.
  • DIY Installation: Use interlocking tile systems to simplify installation without requiring specialist surfacing equipment.
  • Multi-Sport Compatibility: Create one surface that supports fast footwork, directional movement, ball bounce, and clear line marking for both sports.
Perforated blue polypropylene court tile showing water drainage for a backyard pickleball court.

Step 1: Planning and Dimensions

Start by deciding whether the court will be Pickleball-first, 3 x 3 basketball-first, or a true shared-use layout. The tile installation method is the same in each case, but the footprint, line marking plan, and equipment placement must be resolved before the first tile goes down.

A regulation Pickleball court measures 20 feet wide by 44 feet long, but the total playing area should be larger to allow safe movement beyond the lines. A common target is 30 feet by 60 feet for a comfortable home setup.

For 3 x 3 basketball, the exact footprint depends on your available area, hoop position, and how much run-off space you can provide. If the surface is doing double duty, make sure the basket location, key markings, and any pole footing do not interfere with the pickleball net line or player movement zones.

Use this planning stage to:

  • Measure the full usable slab or pad.
  • Confirm hoop placement and net placement before ordering tiles.
  • Define line colours so each sport remains easy to read during play.
  • Allow clear circulation space around the perimeter.

Pro Tip: Orient the court North-South where possible to reduce direct sun in players’ eyes.

Step 2: Preparing the Substrate

Your tiles are only as good as the ground they sit on. While PP tiles are incredibly durable, they are not magic; they will follow the contours of the ground.

  1. Concrete or Asphalt: This is the gold standard. Ensure the surface is level, clean, and dry. Sweep away all debris, pebbles, and dirt. Any significant cracks should be filled to prevent the tiles from "telegraphing" the gap.
  2. Gravel Sub-base: If you don't have concrete, you can use a compacted gravel base. This requires more effort. You’ll need to excavate, lay weed fabric, and use a hand tamper or plate compactor to ensure the surface is rock-solid and perfectly level.
  3. The "Vapor" Factor: If you are installing on a surface that holds a lot of moisture, consider a thin vapor barrier to keep things dry and prevent mold under the tiles.

Step 3: Tools of the Trade

You don't need a massive toolbox for this project, but having these items on hand will save you three trips to the hardware store:

  • Measuring Tape: For obvious reasons.
  • Rubber Mallet: To help snap those stubborn corners without damaging the plastic.
  • Table Saw or Circular Saw: You will likely need to trim tiles at the edges of your court.
  • Chalk Line: To keep your first row perfectly straight.
  • Knee Pads: Your future self will thank you.

Step 4: The Installation Methods

There are two main schools of thought when it comes to laying down the law (or the tiles):

Method A: The Upper Left Corner Approach

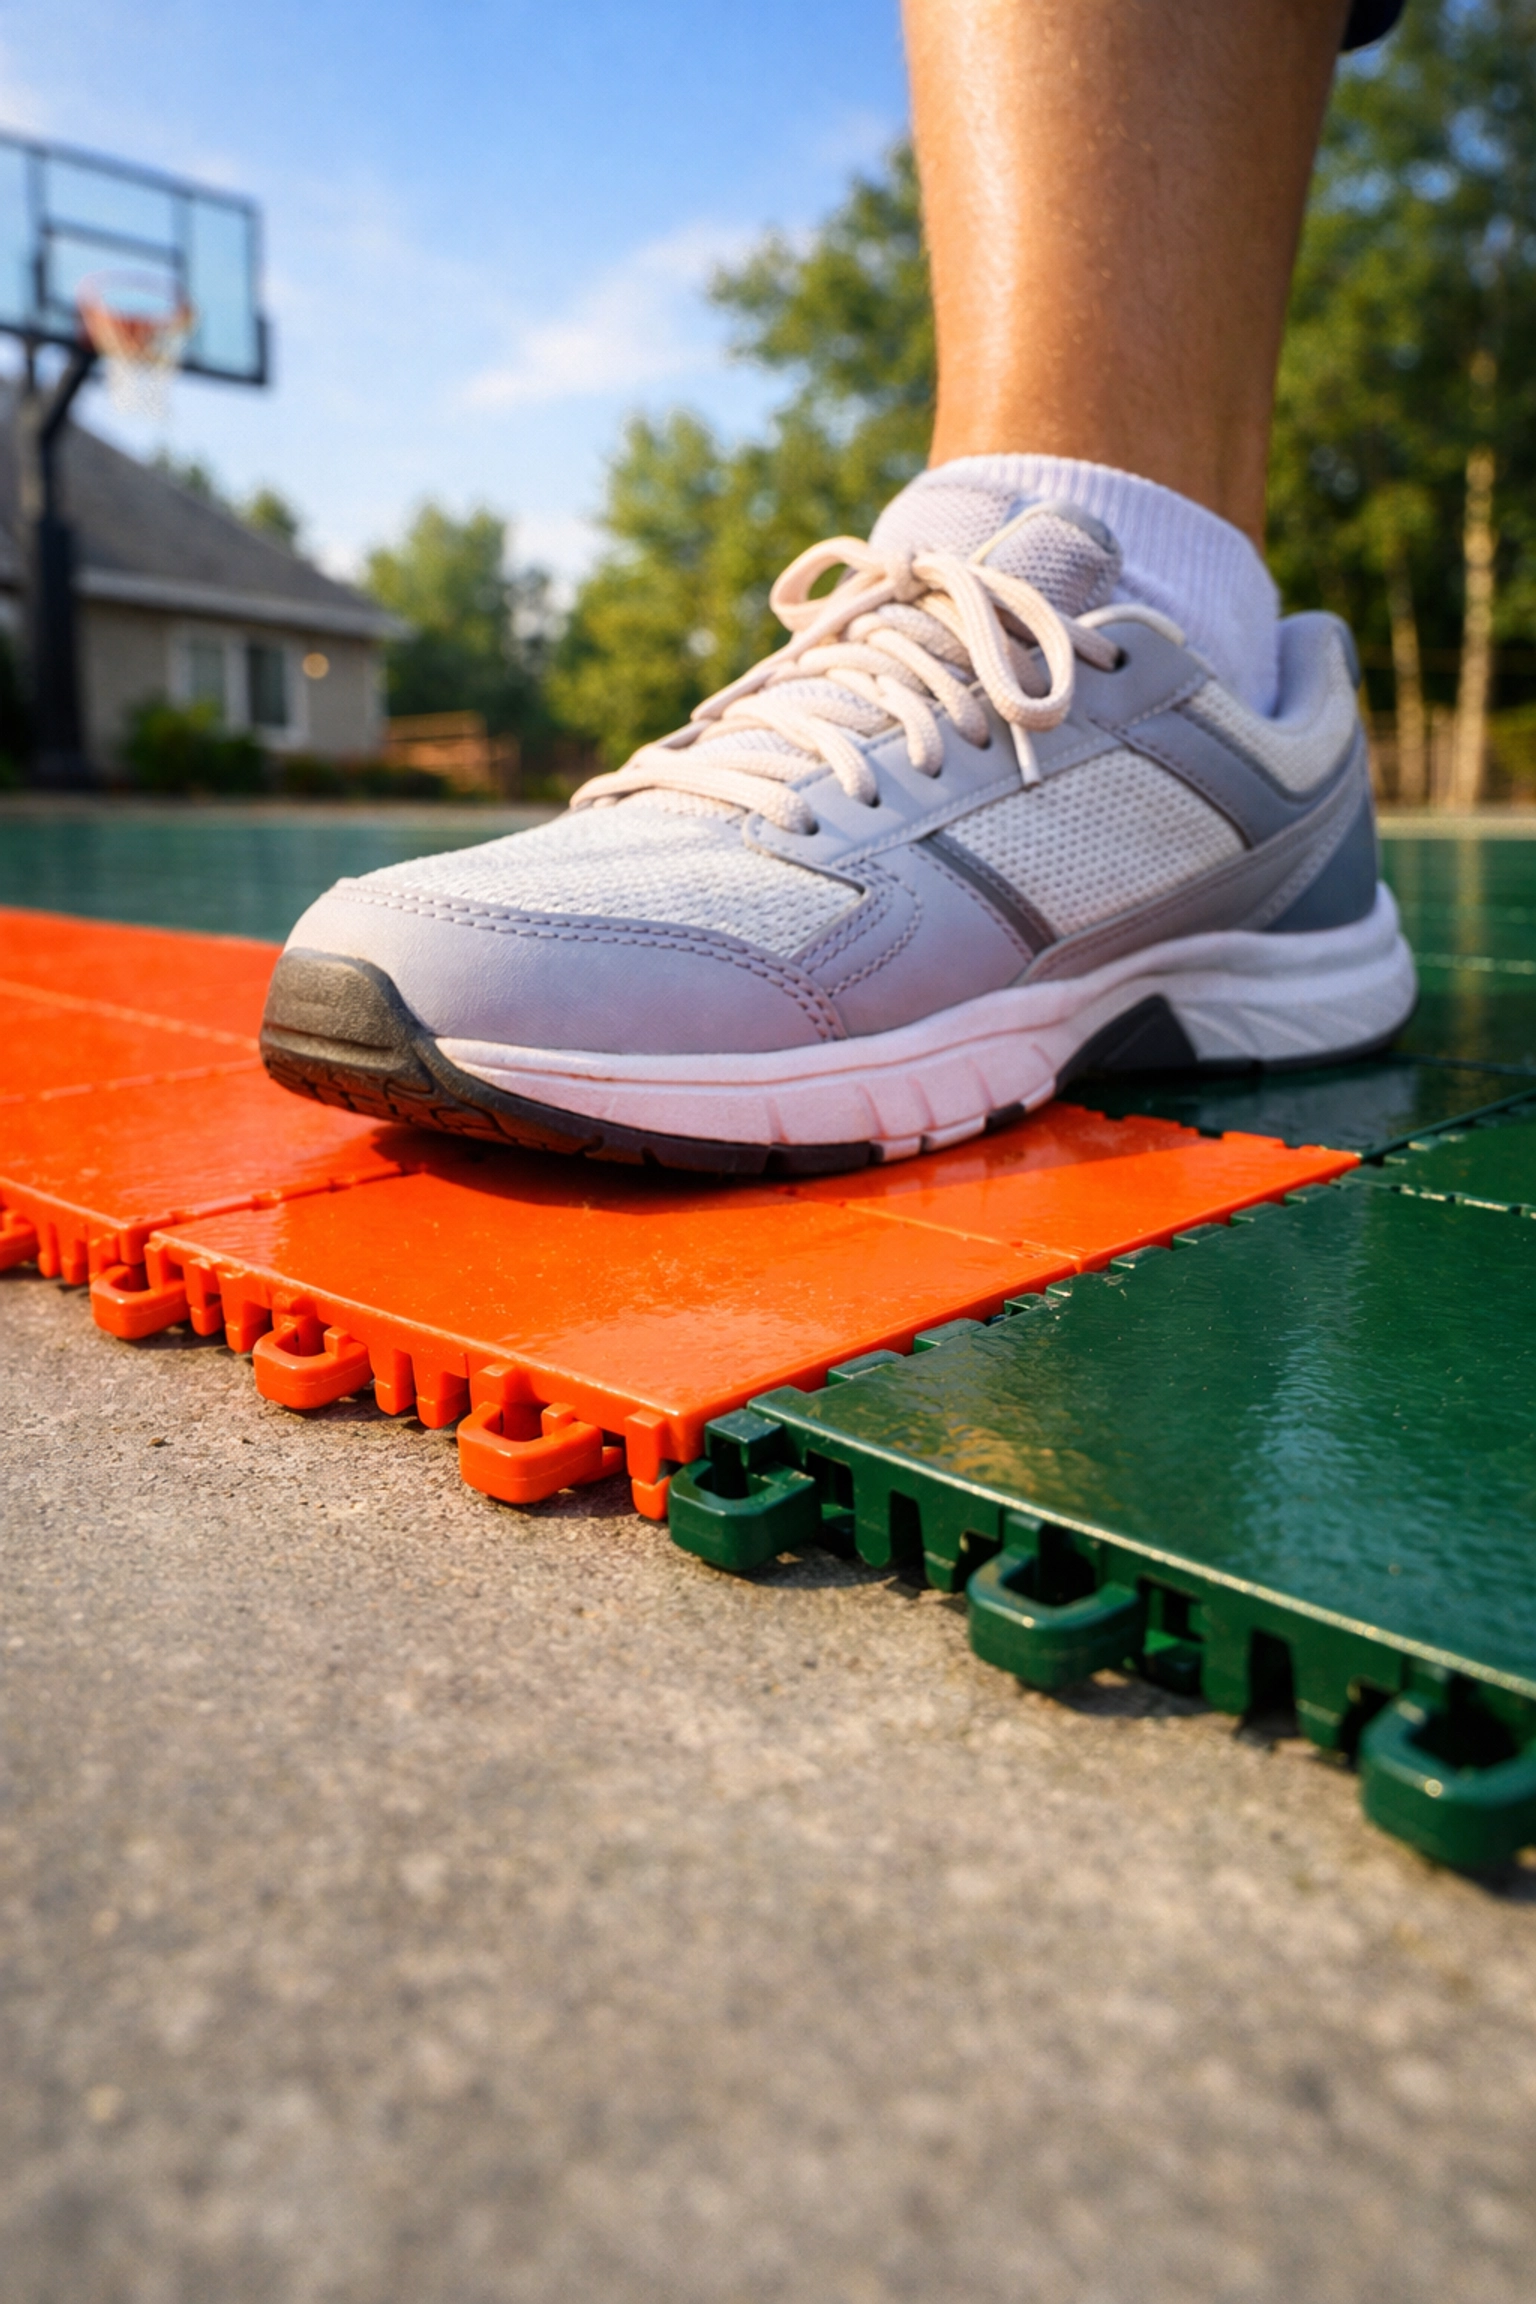
Start at one corner and work your way across and down. This is the most intuitive method. You lay one row, then the next, snapping the "pegs" into the "loops" as you go.

Method B: The Center-Based Approach

Find the exact center of your court area. Lay the first tile here and expand outward in a cross pattern. This is often used for custom logos, balanced colour layouts, or multi-sport courts where both Pickleball and 3 x 3 basketball markings need to sit evenly within the tile grid.

For most shared-use outdoor court setups, the Corner Approach is the easiest for DIY installers to manage.

Step-by-step DIY installation of interlocking sports tiles for a home pickleball court.

Step 5: The "Click" Phase (The Fun Part)

Start laying your tiles without connecting them initially for the first few feet to ensure your alignment is correct. Once you are happy with the positioning:

  1. Align the Pegs and Loops: Each tile has a male side (pegs) and a female side (loops).
  2. Snap Together: Place the pegs over the loops and step down firmly. You should hear a satisfying "click." If a tile is being difficult, a gentle tap with a rubber mallet usually does the trick.
  3. Check Your Lines: Every 5-10 rows, take a step back and check your alignment. It is much easier to fix a slight deviation now than when the whole court is down.

Step 6: Managing Expansion Gaps

Polypropylene is a plastic, and plastic expands when it gets hot and contracts when it gets cold. If you install your tiles tight against a wall or a curb, the court will "buckle" upward in the summer heat.

The Rule of Gold: Leave a 3/4" (approx. 20mm) gap between the edge of your tiles and any permanent structures (walls, fences, or poles). This gives the court room to breathe throughout the seasons.

Step 7: Edging and Trimming

Once the main field of play is down, it’s time for the finishing touches.

  • Ramp Edges: Most tile systems come with transition "ramps." These snap onto the edge of the court to prevent tripping and provide a clean, professional look. They are especially important if your court is on a driveway where you might occasionally roll a vehicle or a basketball hoop over the edge.
  • Trimming: Use your saw to trim tiles around fence posts or at the end of the run. PP tiles cut easily: just wear eye protection, as the plastic chips can fly!

Step 8: Lines and Hoops

If you did not buy pre-marked tiles, apply your court lines after the tile field is fully installed and checked for alignment. Use a high-quality, slip-resistant striping product suitable for outdoor sports surfaces.

For a combined Pickleball and 3 x 3 basketball court:

  • Mark pickleball sidelines, baselines, centre service line, and non-volley zone clearly.
  • Mark the 3 x 3 basketball key and boundary requirements based on your chosen layout and hoop position.
  • Use contrasting colours so each sport reads clearly at a glance.
  • Check that the net location and hoop zone do not create conflicting line intersections in critical play areas.

Clear line separation is one of the most important details in a successful multi-sport court. If players hesitate because markings are confusing, the layout has not been planned properly.

Maintenance: Keeping it Fresh

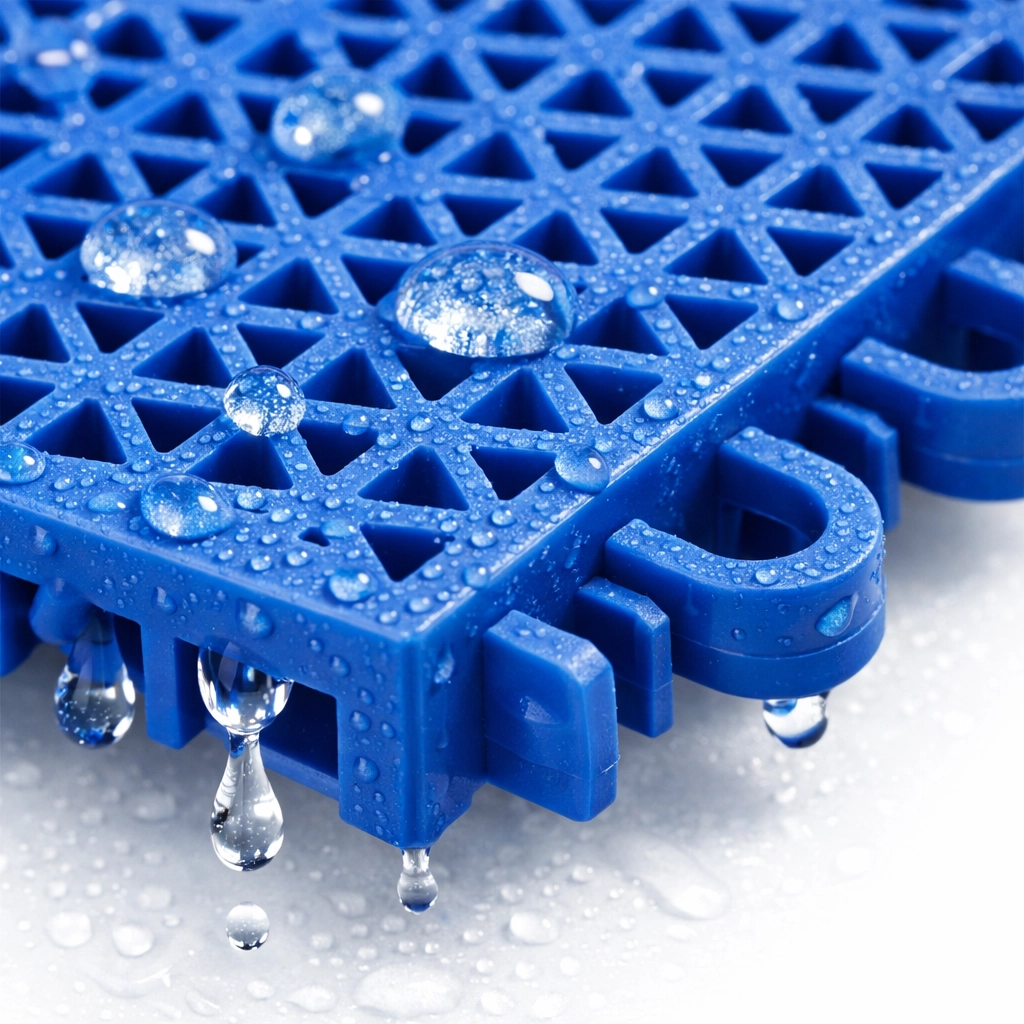
One of the best things about PP tiles is how low-maintenance they are.

  • Leaf Blower: Your best friend. Keep the surface clear of organic matter.
  • Hose it Down: A quick spray with water once a month will keep the colors bright and remove dust.
  • The Deep Clean: Once a year, use a mild detergent and a soft-bristled brush to remove any stubborn grime.

Why Quality Matters

When building a court surface for both Pickleball and 3 x 3 basketball, material quality directly affects performance, longevity, and maintenance requirements. Low-grade tiles are more likely to warp, fade, loosen, or wear unevenly under regular use and changing outdoor conditions.

Specify tiles that are designed for outdoor sport applications and built to handle:

  • UV exposure
  • Temperature movement
  • Repeated foot traffic
  • Ball impact
  • Moisture drainage

If the goal is a court that performs well across both sports, quality is not a cosmetic upgrade. It is a core installation requirement.

Summary: Your Court Checklist

To install a PP tile court that works properly for both Pickleball and 3 x 3 basketball, focus on the essentials:

  • Prioritize the Base: Start with a clean, level, stable substrate.
  • Plan for Both Sports: Confirm court dimensions, hoop position, and net position before installation begins.
  • Maintain Alignment: Keep rows square and check positioning regularly during the install.
  • Allow Expansion: Leave perimeter gaps so the tile system can move with temperature changes.
  • Separate the Markings: Use clear, contrasting lines so both sports remain easy to play.
  • Choose the Right Tile: Specify outdoor PP tiles with proper drainage, UV resistance, and durability.

Get the planning right, install the tile field accurately, and the result is a practical multi-sport court built for consistent use.

Return to insights

Charities We Support

cart
Chroma series archives comdent. For buyers : discover hot products. Faq on “barrel hot tub wood burning coil model d2”.