![[HERO] Pickleball in the Backyard: How to Build a Professional Court Without the Pro Price Tag](https://cdn.marblism.com/j0-ABhHA5zZ.webp)
Pickleball is no longer just a niche sport played in community centres; it has become a global phenomenon. With over 823,000 monthly searches and a growth rate that is outpacing almost every other recreational activity, it has officially transitioned from a "trend" to a staple of modern lifestyle design. For homeowners and developers in New Zealand, the demand for backyard courts is skyrocketing.
However, there is a common misconception that a "professional" court requires a professional contractor's $30,000+ price tag. With the right professional-grade materials sourced through wholesale/direct channels and a solid plan, you can achieve a tournament-grade playing surface for a fraction of the retail cost.
This guide breaks down exactly how to transition from a "makeshift" driveway game to a professional-grade backyard sports zone.
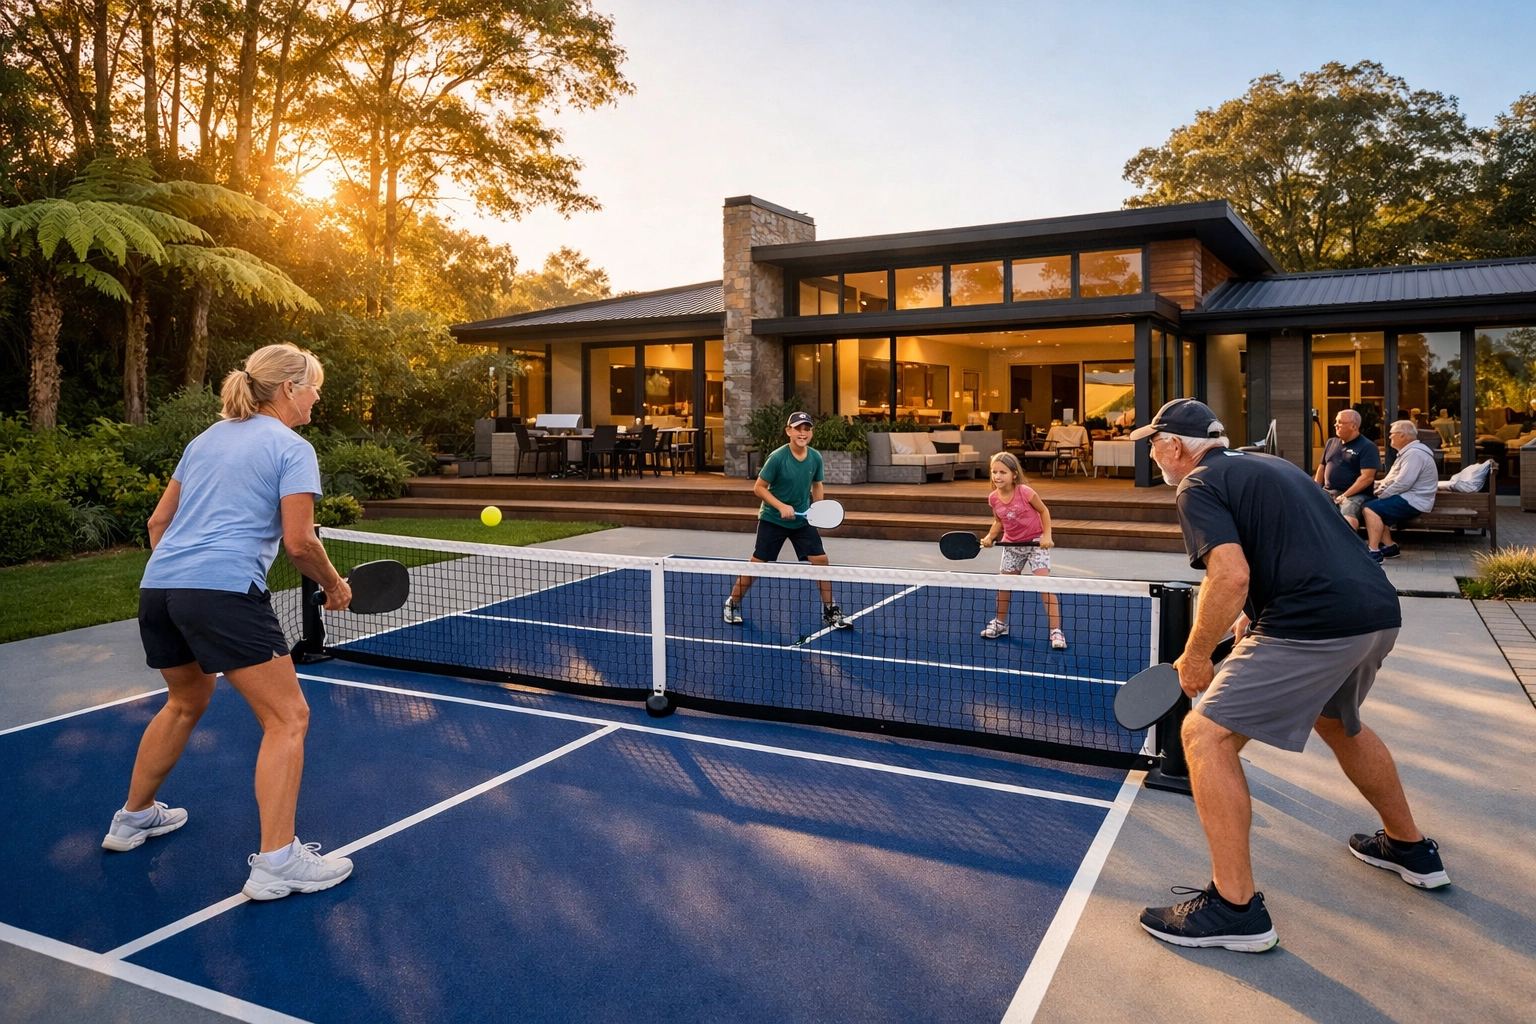
The appeal of pickleball lies in its accessibility. It’s easier on the joints than tennis, has a shorter learning curve than squash, and requires significantly less space than a full-sized basketball court. For families, it’s a rare "all-ages" activity that brings teenagers and grandparents together.
From a property value perspective, a well-executed court is a massive asset. In the current market, "lifestyle" features are driving premium prices. By installing a court that looks and plays like a professional venue, you aren't just adding a hobby space; you are adding a high-value outdoor utility.
If you’ve ever played on a standard concrete driveway, you know the frustrations: inconsistent ball bounce, "dead spots," and a surface that eats through your shoes (and your knees). A professional court feel is defined by three factors:
A regulation pickleball court is 20 feet by 44 feet (approximately 6.1m x 13.4m). This is the "playing lines" area. However, you cannot simply pour a slab to those exact dimensions. For safety and "out-of-bounds" play, you need a buffer zone.
This is where the "Pro Price Tag" usually creeps in. Traditionally, you would hire a surfacing company to fly in, spray an acrylic coating, and charge for labour, travel, and retail margins. By purchasing your materials through wholesale/direct channels, you eliminate those overheads.
This is the most popular DIY professional option. These high-density polypropylene tiles snap together over your concrete base.
For those who want the exact feel of a tournament court, roll-out professional mats provide a seamless, high-performance surface. These are typically used in multi-purpose gymnasiums and high-end residential builds. Specify a commercial-grade mat with documented slip resistance, wear layer thickness, and welded seam (or seam-tape) requirements if you’re covering a larger footprint.
If you prefer a permanent, "painted-on" look, you can apply a professional acrylic resurfacer yourself. This involves:
The secret to a budget-friendly professional court is the supply-only approach. Manage the local concrete pour (or use an existing driveway) and complete the surfacing yourself (or with a local installer) while sourcing professional court flooring materials at wholesale/direct pricing.
If you are using modular tiles, start from the centre of the court and work your way out to ensure the "Kitchen" (the non-volley zone) is perfectly centred. If you are painting, use Frog Tape for your lines. Cheap masking tape will allow the paint to bleed, ruining that professional "sharp" look.
Don’t ruin a professional surface with a cheap, flimsy net.
For the ultimate setup, consider the environment surrounding the court. Integrate practical additions like seating, gear storage, and a clear equipment zone to keep the area organised and reduce trip hazards.
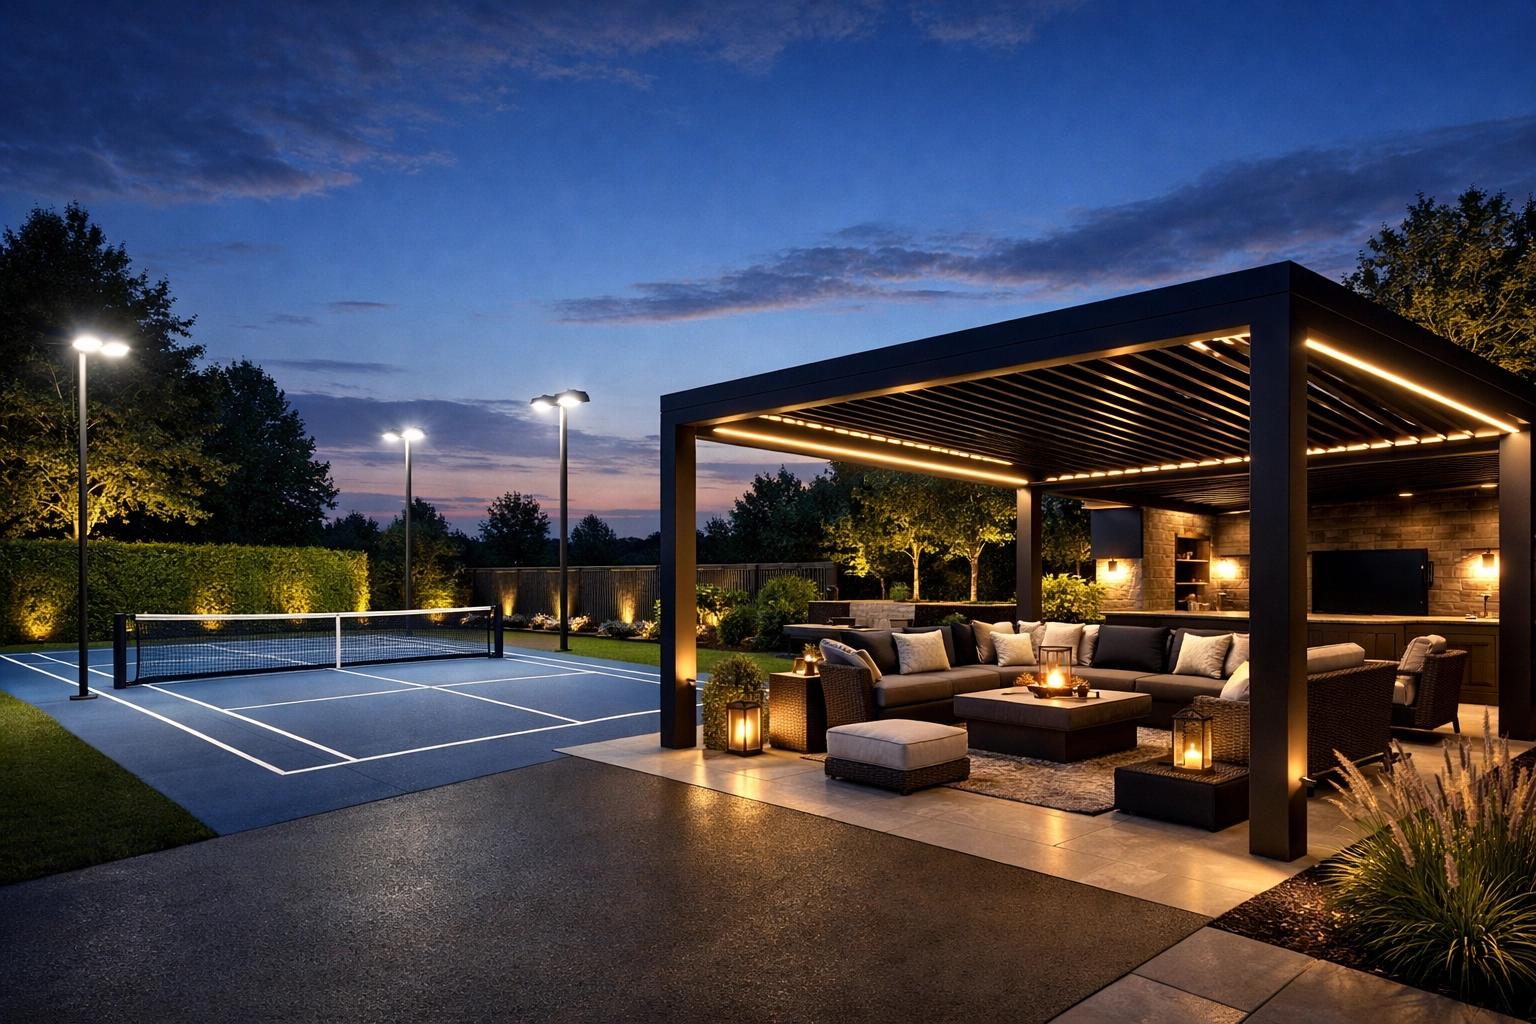
A professional court is only as good as the time you can spend on it. In New Zealand, the sun can be brutal, and the wind can shift a pickleball's flight path mid-air. To achieve a true "stadium feel," provide these additions:
By acting as your own project manager and sourcing professional-grade materials directly, you can save over 50% on the total project cost without compromising on the quality of the play.
Building a backyard pickleball court is a project of precision. Focus on a solid foundation, choose a high-performance surface, and source professional-grade court flooring (tiles, roll-out mats, or a DIY acrylic sand system) through wholesale/direct pricing to create a sports zone that rivals a professional club—without paying for unnecessary retail margins.
Summary: Specify the slab correctly, pick the surface system that matches your use-case, and buy materials direct to keep performance high and total cost under control.