
You're probably looking at a deck, a patch of lawn, or that narrow strip beside the house and thinking the same thing most Kiwi homeowners do. The space is there, but you don't use it enough. A few still summer evenings, the odd weekend barbecue, then months where wind, glare, or drizzle push everyone back inside.
That's usually when the kitset pergola starts to make sense. It feels achievable. You can buy one without committing to a full renovation, and it promises a more usable outdoor area without the price of a custom structure. The catch is that the ticket price only tells part of the story. In New Zealand, weather exposure, fixing quality, site conditions, and consent rules can turn a cheap pergola into an expensive short-term fix if the wrong system goes in the wrong place.
A good kitset pergola can absolutely work. I've seen them suit rear gardens, simple patios, and standard flat sections very well. I've also seen people force them onto exposed coastal sites, uneven ground, and house attachments where a standard kit isn't the right answer.
A pergola earns its keep when it changes how often you use the space, not when it merely looks good from the kitchen window. That's the ultimate test. If it creates a defined zone for dining, reading, cooking, or sheltering from the midday sun, it starts adding value straight away.
For many homes, a kitset pergola in NZ hits the sweet spot between ambition and budget. It gives structure to an outdoor area without the lead time and cost of a fully custom build. On a simple site, that can be the difference between acting now and putting the whole idea off for another year.
What tends to work best is a clear match between the pergola and the property:
Practical rule: Buy for the site you actually have, not the lifestyle photo you've saved.
The New Zealand part matters. Strong UV, sideways rain, salt air in coastal areas, and variable wind exposure all affect how long the structure lasts and how much maintenance it needs. That's why the cheapest pergola isn't always the lowest-cost option over time.
A sensible buying decision comes down to three things. First, whether the kit physically suits your space. Second, whether the structure suits your climate and wind exposure. Third, whether the upfront saving still looks good once installation, maintenance, and replacement risk are taken into account.
A kitset pergola is the outdoor version of a flat-pack building system. The design is standardised, the components are pre-determined, and the assembly process is meant to be repeatable. That's what separates it from a custom pergola, where dimensions, fixings, spans, roof type, and structural details are specific to the site.
With a kitset, you're buying into a fixed system. That has advantages. Ordering is simpler, supply is more predictable, and installation can be faster because the parts are already specified to work together. It also has limits. If your site is awkward, sloping, highly exposed, or attached details need special treatment, a standard pack can run out of flexibility quickly.
A clear example comes from Universal Glazing Systems, which offers 4.246m wide kitset pergolas designed as 7-panel units, including 7 polycarbonate panels, 8 glazing boxes, and 4 posts with foot plates in a standardised package for quick installation across residential and commercial settings, as shown on the UGS 4.246m wide 7-panel kitset pergola product page.
That tells you a lot about how kitsets are sold in practice. You're not starting from scratch and sourcing parts one by one. You're receiving a defined collection of components intended to go together in a known configuration.
Typical inclusions often cover:
The box doesn't remove site reality. It doesn't level the ground, check drainage, or tell you whether your chosen position gets smashed by a prevailing wind. It also doesn't guarantee that your finished pergola will look integrated with the house.
A kitset is only simple when the site is simple.
That's why I always tell buyers to think of the box as a component package, not a complete project. The complete project includes layout, footing preparation, fixings suitable for exposure, and the finish standard you're prepared to live with every day.
A pergola can look tidy on day one and still become an expensive mistake three winters later. In New Zealand, the right material choice is about long-term ownership cost as much as appearance. Rain, salt, harsh UV, wind loading, and the hardware used at every connection all affect how much attention and money the structure will need over time.
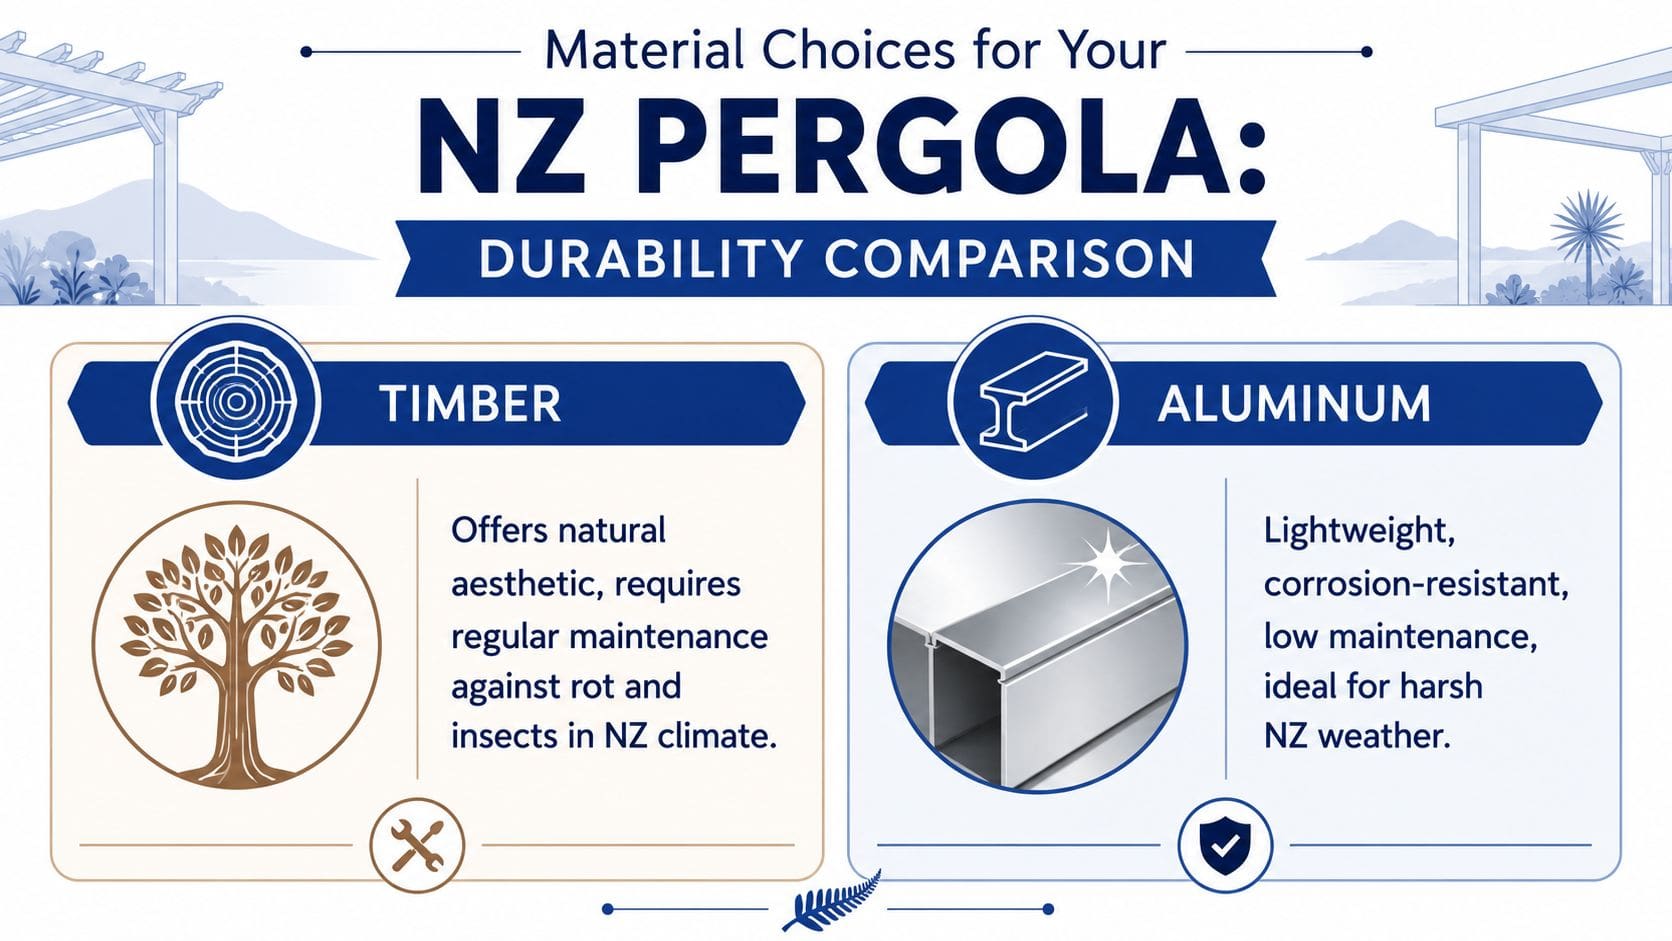
Timber still earns its place, especially on villas, bungalows, and established gardens where a natural finish sits better than a powder-coated frame. It is also easier for many DIY owners to trim, notch, and adapt on site if the slab or deck is slightly out.
That flexibility has a price. Timber needs ongoing surface protection, regular inspections, and better housekeeping around post bases, joints, and shaded damp areas. If leaves build up, sprinklers hit the legs, or planting traps moisture around the frame, the maintenance cycle gets shorter and the ownership cost climbs.
Timber usually makes sense when:
Aluminium is usually the better fit for owners who want predictable upkeep and a cleaner modern finish. It will not rot, it handles wet conditions better, and it suits patios, decks, and newer homes well.
But low maintenance does not mean no maintenance, and it definitely does not mean every aluminium kit is equal. In NZ conditions, the weak points are often the fasteners, brackets, cut edges, and base connections rather than the main frame. On coastal sites, stainless grade matters. On high-wind sites, connection strength and footing design matter just as much. If you are comparing hardware options, this guide to stainless steel 201 vs 304 vs 316 in New Zealand conditions explains why corrosion usually starts at the fittings before the frame itself looks tired.
The trade-off is straightforward. Aluminium often costs more upfront, but it can save money over the life of the pergola through lower maintenance and fewer remedial repairs.
| Feature | Aluminium Pergola | Timber (Pine) Pergola |
|---|---|---|
| Appearance | Clean, modern lines | Traditional, warmer look |
| Maintenance | Lower ongoing upkeep | Higher upkeep over time |
| Coastal suitability | Generally better suited when specified correctly | More vulnerable if maintenance slips |
| DIY friendliness | System-based assembly | Easier for people used to timber work |
| Long-term ownership | Often chosen for reduced maintenance burden | Often chosen for look and flexibility |
Material choice also affects installation cost. Timber can be more forgiving for a handy DIY owner, especially where small site adjustments are needed. Aluminium kitsets tend to go together as a set system, which helps with consistency, but if the site is uneven or exposed, any mistake in alignment, fixings, or anchoring can be expensive to correct later.
Total cost of ownership is paramount. A cheaper kit is not cheaper if it needs frequent recoating, hardware replacement, or structural remedial work after a few rough seasons. Buyers who compare only the purchase price usually miss key cost drivers: maintenance hours, replacement fixings, repainting or resealing, and whether the frame and footing detail are right for NZ wind and seismic demands.
If the pergola is going over a new slab, material choice should also be considered alongside the base and drainage detail. Good planning at ground level prevents a lot of future problems, especially around water holding at post connections. This guide to designing your concrete patio and pergola is useful if you are weighing the structure and the supporting surface together.
The frame matters. The coatings, fixings, drainage, and exposure matter just as much.
The better buy is usually the one that suits the site, the maintenance standard you will realistically keep up, and the wind and corrosion conditions the pergola will face every year.
Most buying mistakes happen before the order goes in. People focus on the pergola size and forget the movement around it, the furniture under it, and how the sun tracks across the site.
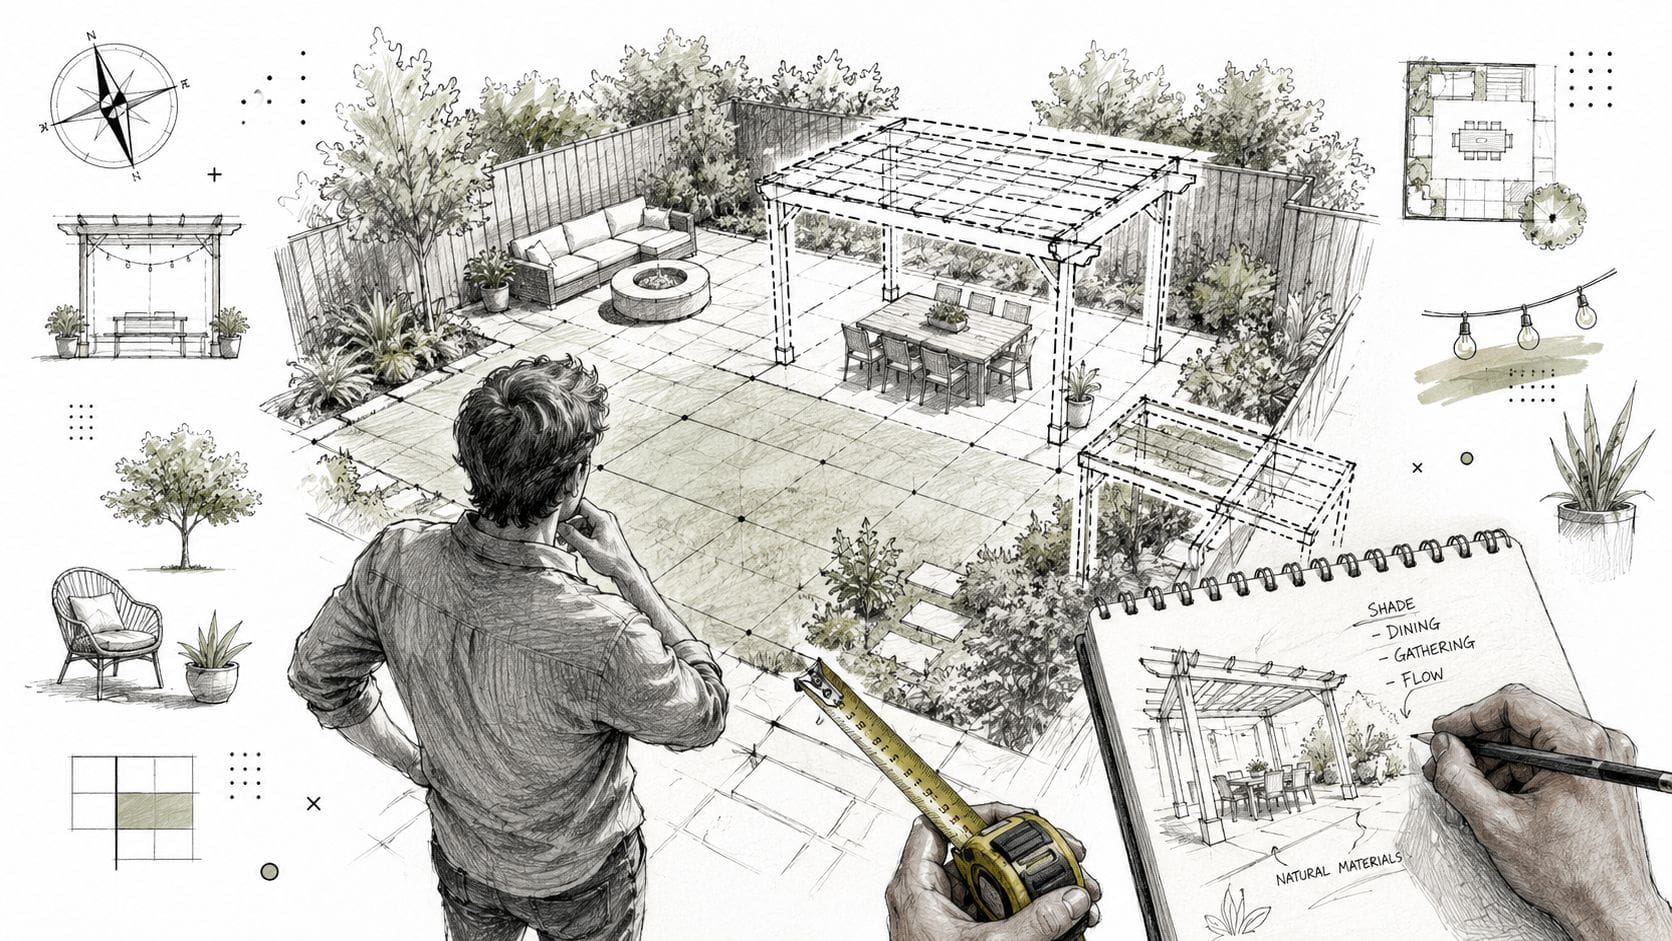
Ask one direct question first. What do you want this structure to do on a normal week?
If the answer is outdoor dining, your layout priorities will be different from a pergola intended for a spa corner, a sheltered coffee spot, or a visual garden feature. Once the use is clear, the right size becomes easier to judge.
A practical planning sequence looks like this:
For a more detailed sizing framework, this guide on what size pergola you actually need is worth reading before you commit to a standard kit dimension.
The pergola should support the house and garden, not interrupt them. I'd rather see a slightly smaller pergola in the right location than a larger one that blocks a view, darkens the living room, or creates awkward dead space.
A few layout prompts help avoid that:
This visual walkthrough helps people think through outdoor arrangement before they build:
A pergola looks simple on paper. On site, a post in the wrong place can ruin access, views, or furniture placement. That's why layout work upfront pays back so well.
Pergola rules confuse a lot of homeowners because the structure feels small, but the compliance logic behind it is serious. In New Zealand, the issue isn't just whether a pergola looks lightweight. It's whether it can stand up to local conditions and whether the exemption fits the design.
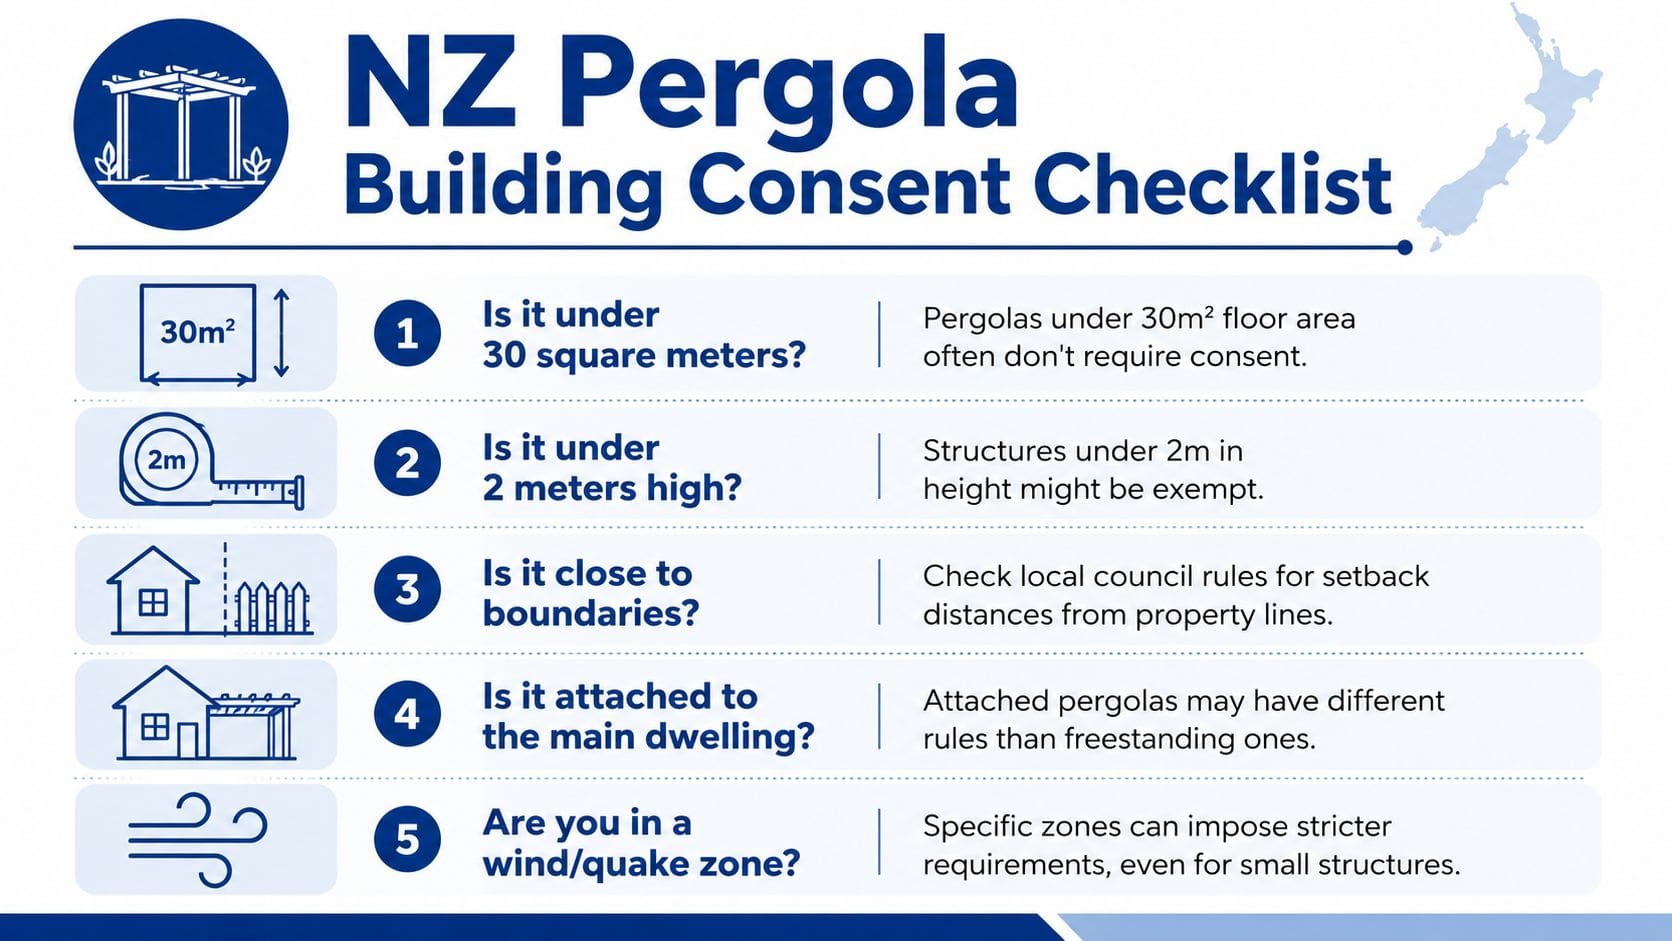
Under the Building Act guidance, a 26 m², 2.4 m high freestanding or attached pergola can be exempt from building consent as long as it remains unroofed, under Regulation 6.5.5 of the Building Performance guidelines, as set out on the MBIE pergola exemption page.
That same guidance also points to where kitsets make sense. They're suited to flat, well-drained sites in medium wind zones with standard rectangular footprints under 4m × 4m, and the same source notes a typical DIY install can take 20 to 40 hours across 2 to 3 weekends.
A quick checklist helps:
New Zealand structures don't get judged only by how they look on a calm day. Wind loading, ground conditions, and seismic expectations all influence what's sensible and compliant. That's why a pergola that seems modest in size can still need more thorough thinking if it sits on an exposed section or ties into the house.
If the site is coastal, highly exposed, or house-attached, standard kit assumptions start to break down.
That's where people often confuse exemption with simplicity. Exempt work still needs to comply with the Building Code. A poor connection detail, weak footing setup, or wrong hardware choice doesn't become acceptable just because a formal consent isn't required.
For readers who like comparing how code frameworks differ in other markets, this article on understanding OBC rules for decks gives a useful contrast. The regulatory details are different, but the principle is the same. Outdoor structures still need to be planned around safety, loading, and location.
You price a kitset at a few thousand dollars, set aside a couple of weekends, and it looks straightforward. Then the site needs extra concrete, delivery is harder than expected, the fixings need upgrading for exposure, and the cheap option is no longer the cheap option.
That is why the useful number is not the kit price alone. It is the full cost to buy, install, maintain, and live with the pergola over time.
For a small timber kitset, the upfront spend usually sits well below a custom pergola. Covered aluminium systems and louvre roofs sit much higher again. As noted earlier in the article, the price gap can be wide. So can the gap in lifespan, finish quality, and how well the structure copes with demanding NZ conditions.
A pergola kit gives you the main components. It does not remove the costs around the build.
Common add-ons include:
On a flat, open site, those extras stay manageable. On an exposed section, a coastal property, or a build attached near the house, they rise quickly.
A cheaper kit can be good buying if it suits the site and you are realistic about lifespan. It can also become expensive if it needs ongoing repairs, early replacement, or structural upgrades after purchase.
Wind and seismic demands are part of that calculation. A light-duty pergola that performs well in a sheltered backyard may not be the right answer on a hill site or in a high-wind coastal area. In those cases, stronger posts, better connections, heavier footings, and more careful detailing improve service life, but they also push the installed cost up.
Hardware matters more than many buyers expect. Connection details around post bases and beam joints often decide how the structure ages. If you are comparing fixing options, even a simple component such as a bracket for 6x6 post shows how much the long-term result depends on the quality of the connection, not just the size of the timber.
DIY can reduce labour cost. It can also shift risk onto the owner.
The common misses are rework, wasted materials, and time lost correcting posts that are out of plumb or beams that are out of square. If the pergola needs extra anchoring, custom flashing, or adjustments for uneven ground, the savings narrow fast. That is why some buyers choose a middle path, buying the kit but using professional assembly support for Cerberus kitsets across NZ where the structure or site leaves less room for error.
A practical comparison looks like this:
| Decision factor | Lower-cost kitset outcome | Higher-spec or custom outcome |
|---|---|---|
| Initial spend | Lower purchase price | Higher upfront investment |
| Install cost risk | Can climb if site or fixing details are harder than expected | Usually clearer once scoped properly |
| Maintenance | More dependent on material grade, coating upkeep, and exposure | Often lower if built for site conditions from the start |
| Service life | Acceptable on standard sheltered sites | Better suited to exposed, coastal, or house-adjacent locations |
| Best value | Simple layout, realistic expectations, tighter budget | Longer ownership, tougher sites, higher finish requirements |
The right question is simple. What will this pergola cost over ten years on this specific site?
That is the number worth buying against.
DIY appeals for good reasons. It gives you control, can reduce project spend, and suits people who are comfortable with measuring, digging, fixing, and problem-solving as they go. But pergolas sit in an awkward middle ground. They're not as simple as garden furniture, and they're not as forgiving as many people expect.
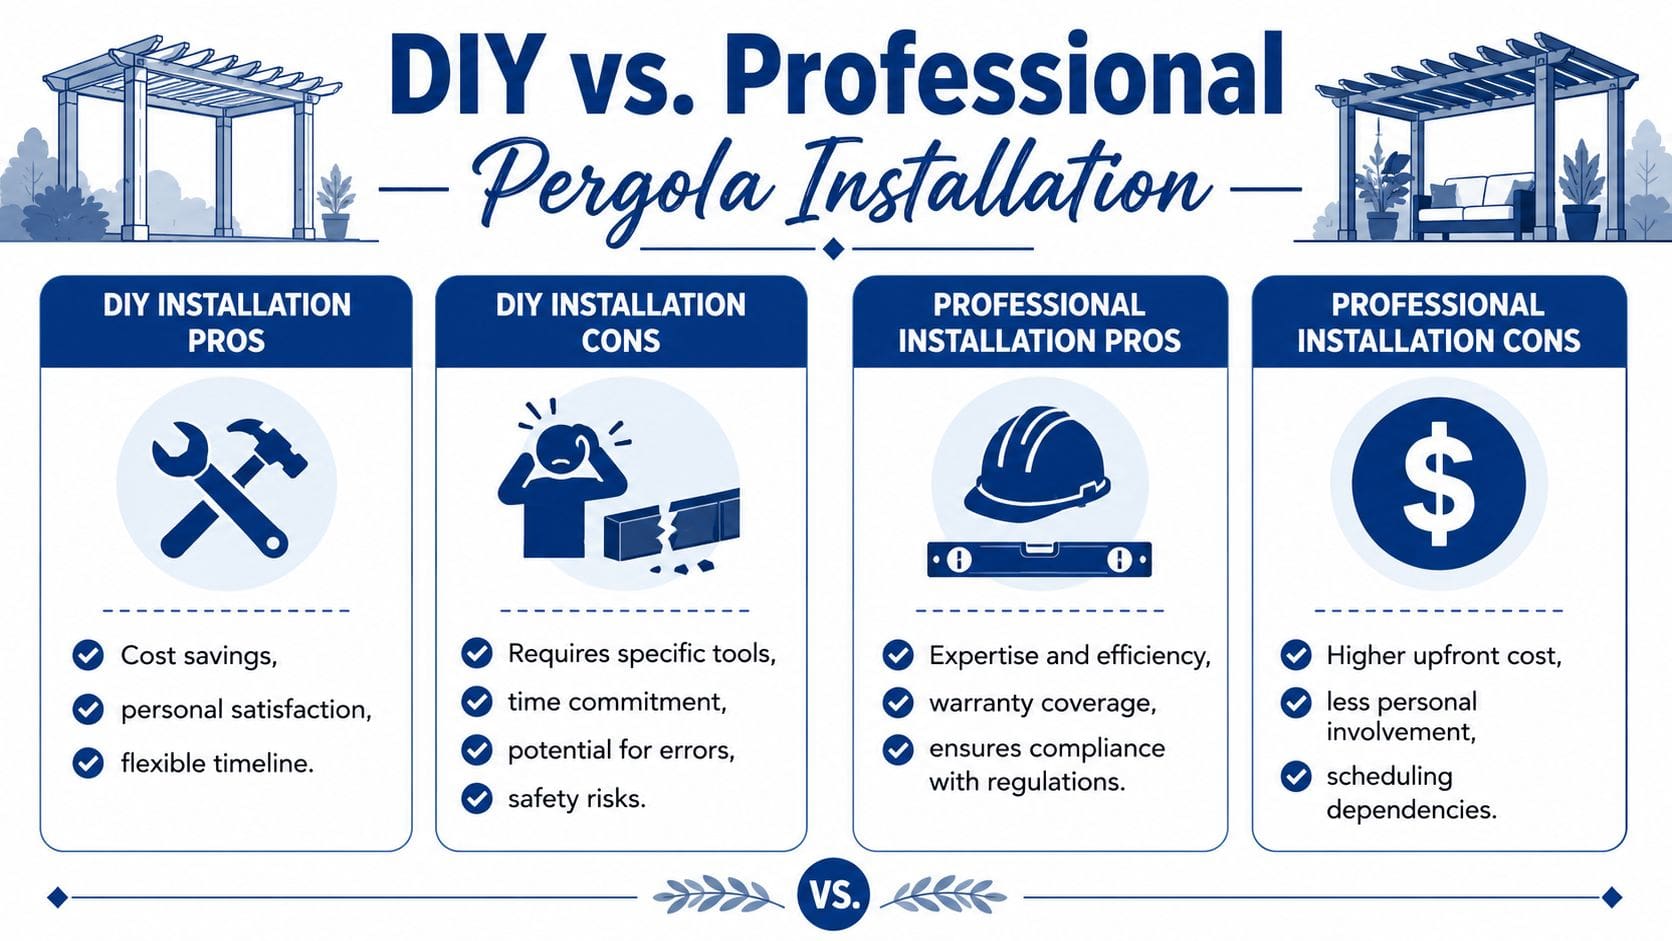
DIY installation is usually most successful when the pergola is freestanding, the site is level, access is easy, and the buyer has already done practical outdoor work before. The same MBIE guidance noted earlier places a typical DIY install in the 20 to 40 hour range over 2 to 3 weekends, which sounds manageable until weather delays, misalignment, and footing work get involved.
DIY tends to be a good fit when:
If you're checking component hardware or base connections, even a simple part like a bracket for 6x6 post is a reminder that load paths and connection details matter more than many first-time builders assume.
Professional installation starts to earn its cost when the project has any of the following: coastal exposure, difficult access, house attachment, drainage issues, or a finish standard that needs to look crisp from every angle. That's also where warranty questions and accountability become more important.
There's also a middle ground that suits a lot of New Zealand buyers. Instead of choosing between full DIY and a traditional custom build, some suppliers offer supply-only kitsets with optional support. Apollo NZ is one example. It supplies outdoor structure systems with wholesale-direct pricing and also offers measuring and installation support through approved agents, which is outlined in its guide to professional assembly support for Cerberus kitsets across NZ.
That model makes sense for a common buyer profile. You may want the price and speed advantages of a kitset, but you don't want to take on every risk personally.
A professional install doesn't only buy labour. It buys judgement at the moments where kit instructions stop being enough.
A sensible final check before committing is to run through this short decision list:
The right answer isn't always the cheapest path at the start. It's the one that gives you a pergola that still works well, still looks right, and still feels worth the money years after the install.
If you're weighing up a kitset pergola in NZ and want a practical second opinion, Apollo NZ is one option for comparing supply-only systems, material choices, and installation support pathways before you lock in the wrong structure for your site.
Drafted with the Outrank app


